
Establishing a Secure Remote Development Environment with AWS EC2 and Terraform
Introduction
Remote development environments (RDEs) allow software engineers to develop and deploy software remotely rather than on their local machine. RDEs are popular among software engineers for several reasons, including company security policies, requirements for specific resources, access to internal resources, and the ability to develop from different devices.
This article provides a complete guide on setting up an RDE using an Amazon EC2 instance. We will cover everything from choosing the right instance type to troubleshooting common problems. By the end of this article, you will have a fully configured RDE that you can use to develop and deploy software from anywhere in the world.
Setting up AWS EC2 Instance
We will use Terraform to create an Amazon EC2 instance with EBS volume. Terraform is an infrastructure as code (IaC) tool used for building, changing, and versioning infrastructure through code. This can also be accomplished using the AWS Console or AWS SDK.
Setup Network Infrastructure
Before provisioning an Amazon EC2 instance, we must establish the necessary network infrastructure. This process involves creating a VPC, subnet, and route table and configuring an internet gateway. If you already have it, you can skip this step.
### VPC
resource "aws_vpc" "vpc-dev" {
  cidr_block            = "10.10.0.0/21"
  enable_dns_support   = true
  enable_dns_hostnames = true
  tags                 = merge(tomap({
    Name = "dev-vpc",
  }), local.common_tags)
}

### Public subnet
resource "aws_subnet" "public-subnet" {
  cidr_block              = "10.10.1.0/24"
  vpc_id                  = aws_vpc.vpc-dev.id
  availability_zone       = "eu-west-2a"
  map_public_ip_on_launch = true

  tags = merge(tomap({
    Name = "dev-public"
  }), local.common_tags)
}

### Route tables for the subnet
resource "aws_route_table" "public-route-table-dev" {
  vpc_id = aws_vpc.vpc-dev.id
  tags   = merge(tomap({
    Name = "public-route-table",
  }), local.common_tags)
}

### Associate the newly created route tables to the subnet
resource "aws_route_table_association" "public-route-association" {
  route_table_id = aws_route_table.public-route-table-dev.id
  subnet_id      = aws_subnet.public-subnet.id
}

### Internet Gateway for the public subnet
resource "aws_internet_gateway" "igw-dev" {
  vpc_id = aws_vpc.vpc-dev.id
  tags   = merge(tomap({
    Name = "publick-igw",
  }), local.common_tags)
}

### Route the public subnet traffic through the Internet Gateway
resource "aws_route" "public-internet-igw-route-dev" {
  route_table_id         = aws_route_table.public-route-table-dev.id
  gateway_id             = aws_internet_gateway.igw-dev.id
  destination_cidr_block = "0.0.0.0/0"
}
Create Security Group
We’ll now create an AWS Security Group to ensure secure network access to an AWS EC2 instance.
### Dev Environment Security group (traffic Local ssh -> EC2)
resource "aws_security_group" "dev_environment" {
  name        = "Dev Environment Security Group"
  description = "Allows inbound access from the SSH only"
  vpc_id      = aws_vpc.vpc-dev.id

  # For connecting to your EC2 from your local machine, you need to add your IP address
  ingress {
    from_port   = 22
    to_port     = 22
    protocol    = "tcp"
    cidr_blocks = [
      "192.168.0.1/32"
    ]
  }

  egress {
    from_port   = 0
    to_port     = 0
    protocol    = "-1"
    cidr_blocks = [
      "0.0.0.0/0"
    ]
  }
  tags = merge(tomap({
    Name = "Dev Environment Security Group"
  }), local.common_tags)
}
This security group restricts SSH connections to only allow access from IP 192.168.0.1. To enable access from your public IP, replace 192.168.0.1 with your public IP address. If you want to allow SSH connections from any IP, replace 192.168.0.1 with 0.0.0.0.
Create EC2 Instance
With the network infrastructure in place, we’re ready to create an AWS EC2 instance for our remote development environment.
Ubuntu 22.04 LTS is used in this article because it is a popular and well-supported operating system for remote development environments. However, you can use any operating system that meets your needs.
Suppose you use IntelliJ IDEA for remote development. To achieve optimal performance and low latency in your remote development environment (RDE), I recommend running an Amazon EC2 instance of type t3.large or r5.large. However, if you are not planning to use IntelliJ IDEA, you can choose a type that suits your needs. Additionally, we will be using a persistent EBS volume for data storage.
resource "aws_key_pair" "ssh_key_dev_environment" {
  key_name   = "ssh_key_dev_environment"
  public_key = "ssh-rsa AAAAB3Nza"
}

# instance data
data "aws_ami" "ubuntu_22_04" {
  most_recent = true

  filter {
    name   = "name"
    values = ["ubuntu/images/hvm-ssd/ubuntu-jammy-22.04-amd64-server-*"]
  }

  filter {
    name   = "architecture"
    values = ["x86_64"]
  }
  owners = ["099720109477"] # Canonical
}

locals {
  development_environment_user_data = <<EOT
#!/bin/bash
# on_cloud_init.sh
# ----------------------------------------------------------------------------
# This script is passed as user data during EC2 launch and executed
# when the EC2 instance is booted for the first time.
# Since all user data scripts are executed as root there's not need for sudo
# ----------------------------------------------------------------------------
set -eu

installPackages() {
  echo '*** Installing packages ***'
  sudo apt-get update
  sudo apt-get install awscli net-tools mc -y
}

installPackages

export AWS_REGION=eu-central-1
export PROJECT_DATA_VOLUME_MARKER=/data/.data_volume

mountDataVolume() {

  DATA_BLOCK_DEVICE=/dev/xvdf
  echo '*** Mounting data volume ***'

  echo "Wait for data volume to be attached"
  while ! lsblk $DATA_BLOCK_DEVICE ; do
    echo "/dev/xvdf is not attached yet. Waiting 5 seconds"
    sleep 5
  done


  echo "Check if filesystem ext is on data volume"
  if [ "$(lsblk -f $DATA_BLOCK_DEVICE -o FSTYPE -n)" == "ext4" ]
  then
    echo "filesystem ext4 is already on data volume"
  else
    echo "creating filesystem ext4 on data volume"
    sudo mkfs -t ext4 $DATA_BLOCK_DEVICE
  fi

  echo "mount data volume at /data"
  sudo mkdir -p /data
  echo "UUID=$(blkid -s UUID -o value $DATA_BLOCK_DEVICE)  /data  ext4  defaults,nofail  0  2" | sudo tee /etc/fstab -a
  mount -a
  sudo mount | grep '/data'
}

echo "Check if data volume is already mounted"
if [ -e "$PROJECT_DATA_VOLUME_MARKER" ]
then
  echo '*** project data volume already mounted ***'
else
  mountDataVolume
  echo "Marking data volumes as mounted"
  echo "DO NOT DELETE OR RENAME THIS FILE\!" > $PROJECT_DATA_VOLUME_MARKER
fi

EOT
}

resource "aws_instance" "development_environment" {
  ami           = data.aws_ami.ubuntu_22_04.id
  instance_type = "t2.micro"


  subnet_id = aws_subnet.public-subnet.id

  vpc_security_group_ids = [
    aws_security_group.dev_environment.id,
  ]


  root_block_device {
    volume_size = 10
    volume_type = "gp3"
  }

  user_data            = local.development_environment_user_data

  key_name   = aws_key_pair.ssh_key_dev_environment.key_name
  monitoring = false

  tags = merge(tomap({
    Name = "Development Environment"
  }), local.common_tags)
}


# Create and attache EBS

resource aws_ebs_volume application_data {
  availability_zone = "eu-west-2a"
  encrypted         = true
  size              = 100
  type              = "gp3"
  tags              = merge({
    Name    = "vol-remote-dev-data"
  }, local.common_tags)
}

resource aws_volume_attachment env_data {
  device_name = "/dev/sdf"
  instance_id = aws_instance.development_environment.id
  volume_id   = aws_ebs_volume.application_data.id
}
Please replace the provided SSH public key with your own. You can apply the desired changes and complete the EC2 instance provisioning process.
$ terraform plan
$ terraform apply
Congratulations! You have successfully provisioned an EC2 instance suitable for remote development. To connect to the VM, utilise its public IP address.
Connecting to a Remote Environment using an IDE:
IntelliJ IDEA and Visual Studio Code are popular Integrated Development Environments (IDEs) supporting remote development. In this article, we will demonstrate using IntelliJ IDEA. Nevertheless, setting up Visual Studio Code is straightforward and should pose no issues.
IntelliJ IDEA supports two workflows for remote development: server-to-client and client-to-server.
The client-to-server workflow is straightforward:
Choose the “Remote Development” option from the IntelliJ IDEA menu.

Select a connection via SSH and specify the SSH connection details to establish a connection with your remote instance.

IntelliJ IDEA will automatically install the necessary IDE components on your remote instance, and you will be ready to start developing. Configuring the server-to-client can be found in the official documentation .
Tips
Easy SSH Access
EC2 instances are assigned dynamic IP addresses by default, meaning the IP address changes each time the instance is stopped and restarted. Consistent instance access can be challenging, especially when working remotely for development purposes. You can address this issue using Elastic IP or a VPN tunnel.
Elastic IP provides a static IP address that can be associated with your EC2 instance. It ensures the instance has the same IP address, even if it’s stopped and restarted. At the same time, Elastic IP incurs a monthly fee.
If you prefer to avoid the additional cost of Elastic IP, you can create a VPN tunnel between your local machine and the EC2 instance. This tunnel establishes a secure private network connection, allowing you to access the instance as if it were on your local network. For this scenario, I recommend using Tailscale, a user-friendly and free option for up to 100 devices.
Port Forwarding
With IntelliJ IDEA, you can effortlessly establish port forwarding from your EC2 instance to your local machine. Alternatively, if you prefer to configure a port forwarding tunnel manually, utilise the following command:
ssh -N -L <LOCAL PORT>:localhost:<REMOTE PORT> ubuntu@<IP ADDRESS>
Conclusion
This guide covered the process of establishing a remote development environment using AWS EC2 instances and Terraform. The remote development environment offers the flexibility to work from anywhere, eliminates hardware limitations, and enables collaboration among developers. The possibilities are endless, and the power of remote development lies in its adaptability and flexibility.
Related Posts
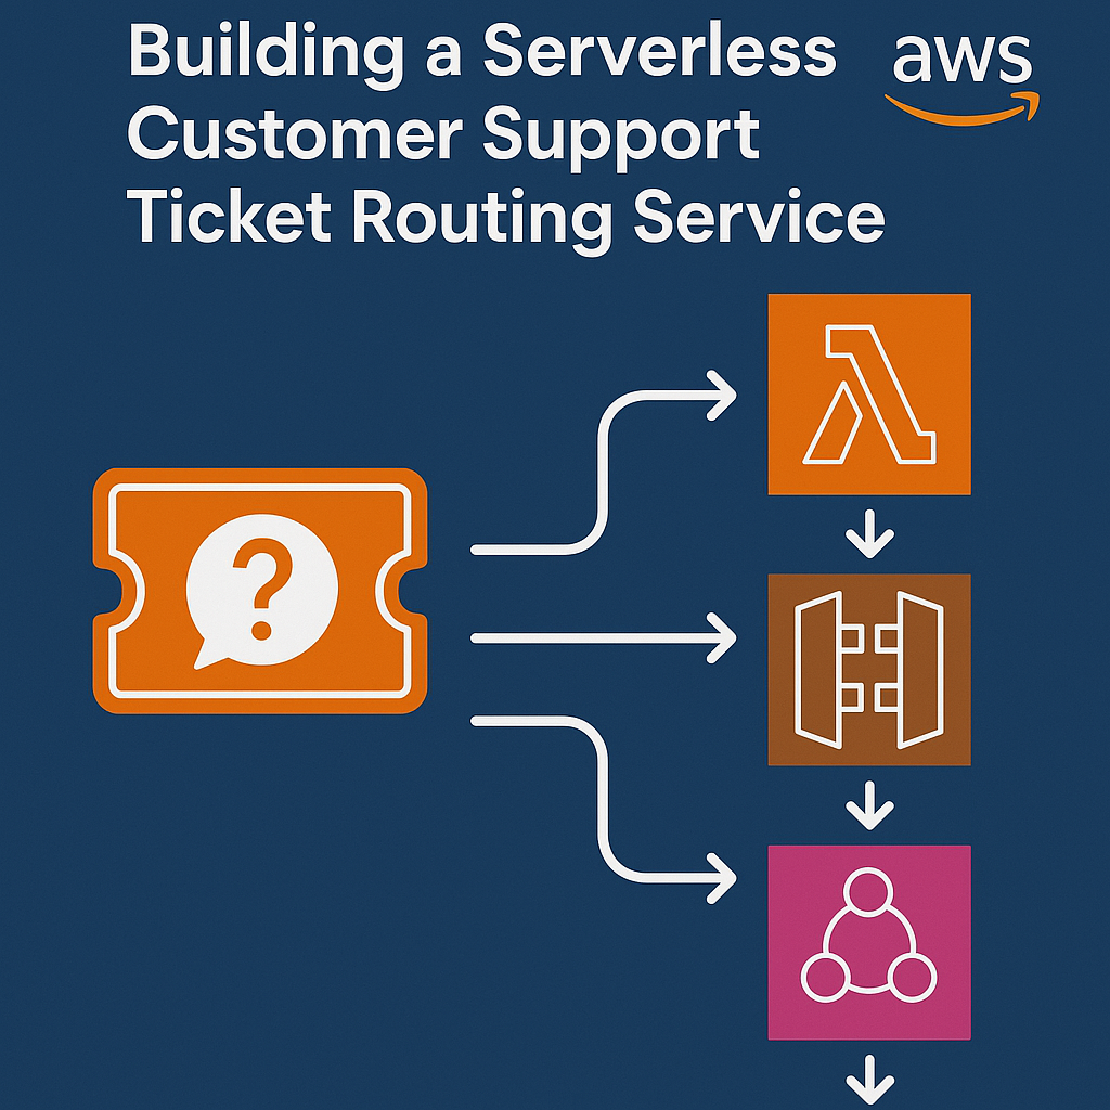
Building a Serverless Customer Support Ticket Routing Service
In this blog post, we will build a serverless customer support ticket routing service using AWS services like Lambda, API Gateway, SNS, and SQS.
Read more
Never Lose Your Data: Automated MacBook Backups with Restic and Real-Time Monitoring via CloudWatch
We rely on our MacBooks for everything—from crucial work projects and irreplaceable photos to vital financial records. The thought of losing it all—due to a crash, theft, or accidental deletion—is truly unsettling.
Read more
Building a REST API with AWS Lambda URLs, Python, and AWS CDK
Introduction AWS Lambda is a powerful serverless platform ideal for building small-scale REST services. There are three common methods to create a REST API with an AWS Lambda function: API Gateway, Application Load Balancer, and Lambda URLs (I’m not going to compare them here, but each has its pros and cons).
Read more