Never Lose Your Data: Automated MacBook Backups with Restic and Real-Time Monitoring via CloudWatch
We rely on our MacBooks for everything—from crucial work projects and irreplaceable photos to vital financial records. The thought of losing it all—due to a crash, theft, or accidental deletion—is truly unsettling. That’s where automation backups become our lifeline, a safety net against digital disaster.
MacOS offers a Time Machine, a convenient way to back up an external drive. But what if you want to store your backup remotely, with your data encrypted in the cloud? While paid solutions exist, there’s a powerful and free alternative Restic. Restic is a backup tool that lets you back up your entire system or specific folders to various storage locations, including cloud providers. It also offers powerful snapshot management, making it easy to restore previous versions of your files.
In this article, I’ll walk you through setting up a comprehensive backup system using Restic and AWS S3 for secure cloud storage. We’ll also implement real-time monitoring with CloudWatch, so you can rest assured that your backups are running smoothly.
Preparing the Environment
This section provides a step-by-step guide for setting up Restic, configuring Amazon S3 for storage, and creating an IAM user for access.
Setting up AWS Resources (S3 Bucket and IAM User)
We’ll need an Amazon S3 bucket to store our backups and an IAM user with specific permissions to access the bucket and send metrics to CloudWatch.
Creating an S3 Bucket:
- Open the Amazon S3 console.
- Choose the AWS region where you want to create your bucket.
- Click “Create bucket”.
- Give your bucket a globally unique name.
- For most use cases, you can accept the default settings. However, you can customize the bucket settings as needed.
- Click “Create bucket”.
For more detailed information, refer to the official AWS S3 documentation . Now, let’s create an IAM user with the necessary permissions.
Creating an IAM User:
- Open the IAM console.
- Select “Users” from the left navigation menu.
- Click “Create user”.
- Enter a user name (e.g., restic-backup-user).
- Click “Next”.
- Select “Attach policies directly”.
- Click “Create policy”.
- Choose the JSON tab and paste the following policy, replacing <your_bucket_name> with the actual name of your S3 bucket:
{
  "Version": "2012-10-17",
  "Statement": [
    {
      "Effect": "Allow",
      "Action": "s3:*",
      "Resource": [
        "arn:aws:s3:::<your_bucket_name>",
        "arn:aws:s3:::<your_bucket_name>/*"
      ]
    },
    {
      "Effect": "Allow",
      "Action": [
        "cloudwatch:PutMetricData",
        "cloudwatch:ListMetrics",
        "cloudwatch:GetMetricData",
        "cloudwatch:Describe*"
      ],
      "Resource": "*"
    }
  ]
}
- Click “Next”.
- Give the policy a name (e.g., restic-backup-policy) and click “Create policy”.
- Go back to the user creation screen and refresh the policy list.
- Search for the policy you just created and select it.
- Click “Next”.
- Click “Create user”.
The final step is to obtain the access key and secret key for the IAM user. You can find these on the user details page. Be sure to save them in a secure location, as you will need them later.
Installing Restic
The easiest way to install Restic on macOS is using Homebrew:
brew install restic
This command downloads and installs the latest stable version of Restic and any necessary dependencies. After installation, verify the installation by checking the Restic version:
restic version
Okay, once everything is installed, let’s initialize the Restic repository. To do this, we need to provide the Restic repository (the S3 URL), the IAM user credentials, and the encryption password. Let’s specify all the necessary information in the environment variables:
$ unset HISTFILE
$ export AWS_DEFAULT_REGION="eu-west-1"
$ export RESTIC_REPOSITORY="s3:https://s3.amazonaws.com/restic-demo"
$ export AWS_ACCESS_KEY_ID="<AWS_ACCESS_KEY_ID>"
$ export AWS_SECRET_ACCESS_KEY="<AWS_SECRET_ACCESS_KEY>"
$ export RESTIC_PASSWORD="I9n7G7G0ZpDWA3GOcJbIuwQCGvGUBkU5"
After setting the environment variables are set up, initialize the Restic repository:
restic init
With the repository initialized, we can now start backing up our data. Let’s create a backup of the Documents folder:
restic backup -o s3.storage-class=STANDARD_IA ~/Documents
This command creates a backup of the Documents folder and stores it in the S3 bucket. It will use the STANDARD_IA storage class, which is suitable for infrequently accessed data and offers cost savings compared to the standard storage class.
Great, let’s move on to automating this process and setting up real-time monitoring with CloudWatch.
Automating Backups with Launchd and Restic Wrapper
Before automating our backups, we must securely store our credentials. Storing sensitive information, such as passwords or API keys, directly in scripts poses a significant security risk. Therefore, we will use macOS’s built-in secure storage system, Keychain. By storing these credentials in Keychain, we ensure they are protected by the operating system’s security mechanisms.
Let’s add our credentials to Keychain.
security add-generic-password -s restic-backup -a aws-region -w eu-west-3
security add-generic-password -s restic-backup -a aws-access-key-id -w <AWS_ACCESS_KEY_ID>
security add-generic-password -s restic-backup -a aws-secret-access-key -w <AWS_SECRET_ACCESS_KEY>
security add-generic-password -s restic-backup -a repository -w s3:https://s3.amazonaws.com/restic-demo
security add-generic-password -s restic-backup -a password -w <RESTIC_PASSWORD>
For extractng the credentials from Keychain, use the following command:
security find-generic-password -s restic-backup -a aws-region -w
To run the backup process with CloudWatch integration, we’ll utilize a wrapper script. This script automates several key tasks:
- Retrieves credentials: It extracts the necessary credentials (Restic repository password, AWS credentials) securely from Keychain.
- Executes Restic commands: Run Restic commands with the extracted credentials.
- Publishes metrics to CloudWatch: It sends real-time metrics to CloudWatch, allowing for easy monitoring and troubleshooting.
- Includes advanced features:
- Power-aware backups: Configurable to run only when the MacBook is connected to AC power.
- Intelligent retention policy: Automatically cleans up older backups while retaining a defined set of recent backups. It keeps the last four hourly backups, seven daily backups, five weekly backups, twelve monthly backups, and five yearly backups, while skipping snapshots tagged with “nodelete”.
Next, let’s create a directory for downloading the script and adding the script configuration:
mkdir ~/.restic_backup
cd ~/.restic_backup
# For Mac with Apple Silicon (M1, ...) chip
curl -O https://github.com/myarik/restic_wrapper/releases/download/v0.1.0/restic_wrapper_arm64
# For Intel-based Mac
curl -O https://github.com/myarik/restic_wrapper/releases/download/v0.1.0/restic_wrapper_amd64
If you have a Mac with an Apple Silicon chip, download the restic_wrapper_arm64 script. For Intel-based Macs, download the restic_wrapper_amd64 script.
Now, let’s create a configuration file for the wrapper script:
touch ~/.restic_backup/config.yaml
The configuration file should look like this:
restic:
  executable_path: /usr/local/bin/restic
  s3_storage_class: STANDARD_IA
security_service: restic-backup
host_name: MacBook-Pro
cleanup_old_backups: true
We also need to create files with lists of directories to back up and exclude:
touch ~/.restic_backup/backup.txt
touch ~/.restic_backup/exclude.txt
The backup.txt file should contain the directories you want to back up, one per line. For example:
~/Documents
~/Pictures
Example of the exclude.txt file:
.DS_Store
.vscode
.idea
Now, let’s run the wrapper script:
~/.restic_backup/restic_wrapper_arm64
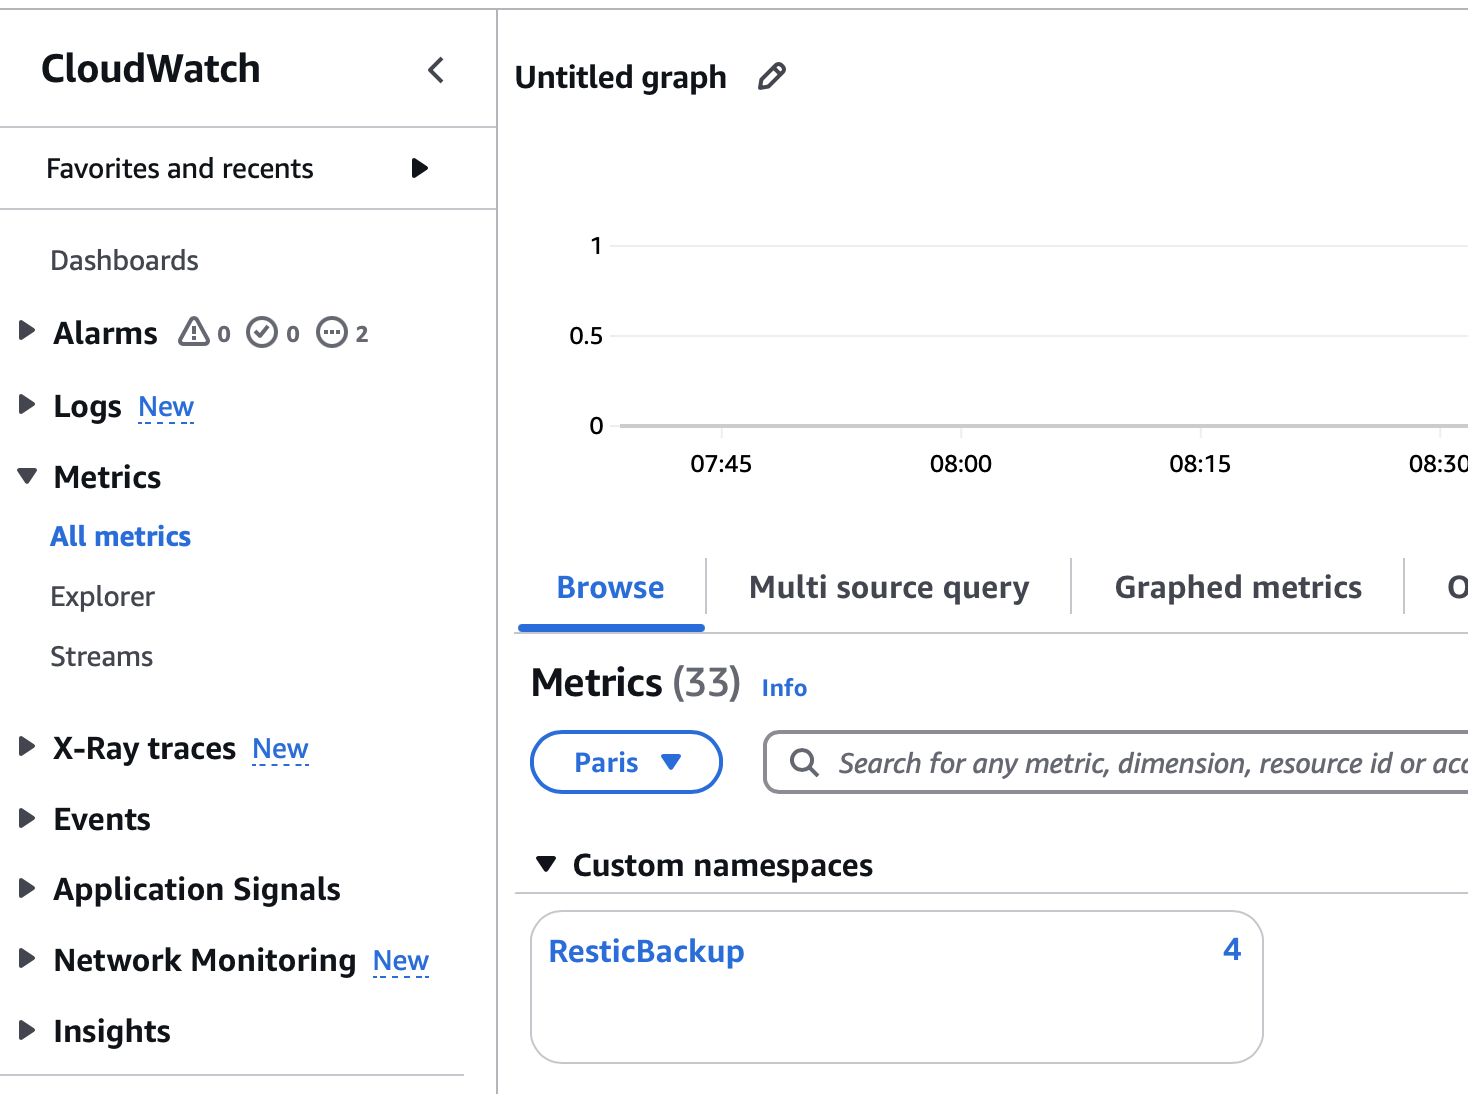
If everything is set up correctly, the script should create a backup and publish metrics to CloudWatch. You can check the metrics in the CloudWatch console and review the Restic log in the ~/.restic_backup/logs directory.

The final step is to create a Launchd plist file to run the wrapper script automatically. Create a file at ~/Library/LaunchAgents/com.backup.restic.plist with the following content:
<?xml version="1.0" encoding="UTF-8"?>
<!DOCTYPE plist PUBLIC -//Apple Computer//DTD PLIST 1.0//EN
http://www.apple.com/DTDs/PropertyList-1.0.dtd>
<plist version="1.0">
<dict>
    <key>Label</key>
    <string>com.backup.restic</string>

    <key>ProgramArguments</key>
    <array>
        <string>/Users/username/.restic_backup/restic_wrapper_arm64</string>
    </array>

    <key>RunAtLoad</key>
    <true/>

    <key>StartCalendarInterval</key>
    <array>
        <dict>
            <key>Hour</key>
            <integer>10</integer>
            <key>Minute</key>
            <integer>0</integer>
        </dict>
        <dict>
            <key>Hour</key>
            <integer>16</integer>
            <key>Minute</key>
            <integer>0</integer>
        </dict>
    </array>

    <key>WorkingDirectory</key>
    <string>/Users/username/.restic_backup</string>

    <key>StandardOutPath</key>
    <string>/Users/username/.restic_backup/logs/com.backup.restic.log</string>

    <key>StandardErrorPath</key>
    <string>/Users/username/.restic_backup/logs/com.backup.restic.error.log</string>
</dict>
</plist>
Replace username with your actual username. This plist file will run the wrapper script every day at 10:00 AM and 4:00 PM. You can adjust the schedule as needed. To load the plist file, run:
launchctl load ~/Library/LaunchAgents/com.backup.restic.plist
That’s it! You’ve set up a comprehensive backup system using Restic and AWS S3, with real-time monitoring via CloudWatch. Your data is now safe and secure, with automated backups running smoothly in the background. I also recommend setting up alerts in CloudWatch to be notified about any issues with the backup process.
Resources
Conclusion
It’s wise to be proactive and manage your backups today to avoid any unpleasant situations tomorrow. We use the open-source tool Restic to efficiently create incremental backups to AWS S3, ensuring secure and reliable data storage. To enhance this solution, we integrate a monitoring system to provide real-time insights into your backup process, allowing for early detection of any issues. With this robust system in place, you can rest assured that your data is always safe and easily recoverable.
Related Posts
How to Setup, Deploy, and Observe AWS Lambda Function in a Microservice Architecture
Introduction AWS Lambda is an excellent tool for building microservices due to its scalability, cost-efficiency, and maintainability. However, setting up, structuring, and monitoring a Lambda Function can be challenging.
Read moreBuilding a REST API with AWS Lambda URLs, Python, and AWS CDK
Introduction AWS Lambda is a powerful serverless platform ideal for building small-scale REST services. There are three common methods to create a REST API with an AWS Lambda function: API Gateway, Application Load Balancer, and Lambda URLs (I’m not going to compare them here, but each has its pros and cons).
Read moreEstablishing a Secure Remote Development Environment with AWS EC2 and Terraform
Introduction Remote development environments (RDEs) allow software engineers to develop and deploy software remotely rather than on their local machine. RDEs are popular among software engineers for several reasons, including company security policies, requirements for specific resources, access to internal resources, and the ability to develop from different devices.
Read more


