How to Setup, Deploy, and Observe AWS Lambda Function in a Microservice Architecture
Introduction
AWS Lambda is an excellent tool for building microservices due to its scalability, cost-efficiency, and maintainability. However, setting up, structuring, and monitoring a Lambda Function can be challenging. These tasks can be time-consuming and may distract you from focusing on business logic.
This guide compiles best practices from various sources and personal insights to tackle these questions, allowing developers to focus primarily on business logic.
We will dig deep into the following areas:
-
Setting Up and Structuring the AWS Lambda Project
-
Building and Deploying a Python Lambda Function Using Lambda Layers
-
Input Data Validation
-
Setting up Monitoring and Alarms
By following this guide, you’ll learn how to set up, deploy, monitor, and configure alarms for AWS Lambda functions. Let’s get started!
Setting Up and Structuring the AWS Lambda Project
In this step, I will guide you through the process of creating and deploying a simple Python Lambda function using the AWS Cloud Development Kit (AWS CDK). To begin, clone the initial project by running the following command:
git clone --branch init-lambda-setup https://github.com/myarik/aws-cdk-python-demo.git
cd aws-cdk-python-demo
Let’s take a look at the project structure:
aws-cdk-python-demo/
├── app.py                  # CDK app entry point
├── infrastructure/         # CDK stack definitions
├── service/                # Lambda function code
├── tests/                  # Test files
├── Makefile                # Utility commands
├── README.md
└── pyproject.toml          # Python project configuration
The project structure separates the business logic from the infrastructure, simplifying readability and maintenance. The tests folder contains the infrastructure and business logic tests. The app.py file serves as the entry point for our AWS CDK application, initiating our stack.
app = cdk.App()
PythonDemoStack(
    app,
    get_stack_name(),
    env=cdk.Environment(
        account=os.getenv("AWS_DEFAULT_ACCOUNT"), region=os.getenv("AWS_DEFAULT_REGION")
    ),
)
app.synth()
Following AWS best practices, we will use a single stack with multiple constructs. This approach ensures modularity and maintainability. The stack is described in the infrastructure/component.py file:
class PythonDemoStack(Stack):
    def __init__(self, scope: Construct, construct_id: str, **kwargs) -> None:
        super().__init__(scope, construct_id, **kwargs)
        self._add_stack_tags()

        # Create a simple lambda function
        DemoLambdaConstruct(
            self,
            f"{construct_id}{constants.DELIMITER}hello_lambda",
        )
We define our Lambda function to use the Python 3.12 runtime, with a maximum duration of 10 seconds and a memory limit of 128 MB. To manage log storage costs, we define the log retention period as one day, though you can customize it based on your business requirements. It’s important to note that the CDK will create a secondary Lambda function to rotate logs (it will be used across the entire stack). Our infrastructure/basic_lambda/construct.py file looks like this:
class DemoLambdaConstruct(Construct):
    def __init__(self, scope: Construct, construct_id: str) -> None:
        super().__init__(scope, construct_id)
        self.construct_id = construct_id
        self.lambda_function = self._build_labmda_function()

    def _build_labmda_function(
        self,
    ) -> _lambda.Function:
        """
        Basic Python Lambda Function
        """
        return _lambda.Function(
            self,
            "BasicPythonLambdaFunction",
            function_name=self.construct_id,
            runtime=_lambda.Runtime.PYTHON_3_12,
            code=_lambda.Code.from_asset(constants.BUILD_FOLDER),
            handler="service.handlers.demo_lambda.lambda_handler",
            tracing=_lambda.Tracing.DISABLED,
            retry_attempts=0,
            timeout=Duration.seconds(constants.HANDLER_LAMBDA_TIMEOUT),
            memory_size=constants.HANDLER_LAMBDA_MEMORY_SIZE,
            log_retention=RetentionDays.ONE_DAY,
            log_format=_lambda.LogFormat.JSON.value,
            system_log_level=_lambda.SystemLogLevel.INFO.value,
        )
Our Lambda function service/handlers/demo_lambda.py will return the message “Hello from Lambda!” each time it is triggered.
def lambda_handler(event: dict[str, Any], context: Any) -> dict:
    """
    Simple lambda handler
    """
    return {"message": "Hello from Lambda!"}
Before deploying our function, let’s set up our local environment.
The project uses Poetry to manage dependencies, allowing us to separate local dependencies from Lambda function dependencies using different groups for each environment. The below command will set up the virtual environment in the local folder and install all packages.
make dev
Now we are ready to deploy our function:
make deploy
This command sets up our stack and deploys our Lambda function to the cloud. You can invoke the Lambda function using the AWS Console or AWS CLI.
Building and Deploying a Python Lambda Function Using Lambda Layers
In the previous step, we deployed a simple Lambda function. However, in most real-world scenarios, your Lambda functions will require additional library dependencies. There are three main ways to deploy a Lambda function with these extra dependencies:
-
Combine the Lambda function and dependencies into a single .zip file.
-
Use a container image for your Python Lambda function.
-
Use AWS Lambda Layers.
Using a container image is beneficial when your function needs additional Linux libraries or the Lambda function is larger than 50MB. For most other cases, AWS Lambda Layers is the preferred choice. AWS Lambda Layers reduce deployment time and allow you to share common layers across multiple Lambda functions in your AWS account or even different AWS accounts.
In the previous step, we deployed a simple Lambda function. Let’s improve that Lambda function by adding the ability to return a template built using the JIRA library with an input context. Additionally, we will include the aws-lambda-powertools toolkit, a robust set of utilities designed to enhance Lambda functions. We will use it in the following steps.
First, let’s add the required libraries using the Poetry command:
poetry add aws-lambda-powertools
poetry add Jinja2
Next, let’s create a requirements.txt file, which will be used for our Lambda layer:
mkdir -p .build/layers ; poetry export --without=dev --without-hashes --format=requirements.txt > .build/layers/requirements.txt
Using the PythonLayerVersion construct in AWS CDK, we create a Lambda layer and install all dependencies from the requirements.txt file.
def _build_lambda_layer(self) -> PythonLayerVersion:
    """
    Build a Lambda Layer
    """
    return PythonLayerVersion(
        self,
        f"{self.construct_id}_layer",
        entry=constants.LAYER_BUILD_FOLDER,
        compatible_runtimes=[_lambda.Runtime.PYTHON_3_12],
        removal_policy=RemovalPolicy.DESTROY,
    )
Now, let’s add this layer to the Lambda function:
def _build_lambda_function(
    self,
) -> _lambda.Function:
    """
    Basic Python Lambda Function
    """
    return _lambda.Function(
        self,
        "BasicPythonLambdaFunction",
        function_name=self.construct_id,
        runtime=_lambda.Runtime.PYTHON_3_12,
        code=_lambda.Code.from_asset(constants.BUILD_FOLDER),
        handler="service.handlers.demo_lambda.lambda_handler",
        environment={
            "POWERTOOLS_SERVICE_NAME": "demo-service",  # for logger, tracer and metrics
            "POWERTOOLS_TRACE_DISABLED": "true",  # for tracer
            "LOG_LEVEL": constants.LOG_LEVEL,  # for logger
        },
        tracing=_lambda.Tracing.DISABLED,
        retry_attempts=0,
        timeout=Duration.seconds(constants.HANDLER_LAMBDA_TIMEOUT),
        memory_size=constants.HANDLER_LAMBDA_MEMORY_SIZE,
        layers=[self._build_lambda_layer()],
        log_retention=RetentionDays.ONE_DAY,
        log_format=_lambda.LogFormat.JSON.value,
        system_log_level=_lambda.SystemLogLevel.INFO.value,
    )
And finally, let’s update our lambda function
from jinja2 import Environment, DictLoader

env = Environment(
    loader=DictLoader(
        {
            "example_template": """
    <html>
        <head><title>{{ title }}</title></head>
        <body>
            <p>{{ content }}</p>
        </body>
    </html>
    """
        }
    ),
    autoescape=True,
)

logger: Logger = Logger()


def lambda_handler(event: dict[str, Any], context: LambdaContext) -> str:
    """
    Simple lambda handler
    """
    logger.debug("Received event", extra={"event": event})
    template = env.get_template("example_template")
    rendered_output = template.render(event)
    return rendered_output
With everything set, we are ready to deploy our code:
make deploy
You can find the source code for this step in the link . In the next section, we will focus on adding input validation.
Input Data Validation
Adding input validation to our Lambda function is crucial to ensure the microservice operates correctly and to prevent unexpected behaviour or potential exploits.
We can use the aws_lambda_powertools library to validate input events. This library provides built-in models that make it easy to validate inputs from various AWS Lambda trigger sources such as API Gateway, EventBridge, Kinesis, and more. For further details, you can read more here
.
First, we need to add the pydantic library as a dependency to the Lambda layer (the pydantic is used by aws_lambda_powertools under the hood). Then, we need to define the model to parse incoming events.
class CreateTemplateRequest(BaseModel):
    """
    Schema for input data
    """
    title: str = Field(..., description="Title of the template", min_length=3)
    content: str = Field(..., description="Content of the template")
Next, wrap your Lambda handler with the event_parser, which will raise a ValidationError if the incoming event cannot be parsed according to the defined model.
@event_parser
def lambda_handler(event: CreateTemplateRequest, context: LambdaContext) -> str:
    ...
Deploy your changes and test the Lambda function.
make deploy
If we test the function with a request where the title contains only two characters, the Lambda function will return an error like this:
{
  "errorMessage": "Error: 1 validation error for CreateTemplateRequest\ntitle\n  String should have at least 3 characters [type=string_too_short, input_value='Te', input_type=str]\n    For further information visit https://errors.pydantic.dev/2.9/v/string_too_short. Please ensure the Input model inherits from BaseModel,\nand your payload adheres to the specified Input model structure.\nModel=<class 'service.models.input.CreateTemplateRequest'>",
  "errorType": "InvalidModelTypeError",
  "requestId": "8901eb14-3774-42a2-8163-b6b46041678c",
  "stackTrace": [
    "  File \"/opt/python/aws_lambda_powertools/middleware_factory/factory.py\", line 137, in wrapper\n    response = middleware()\n",
    "  File \"/opt/python/aws_lambda_powertools/utilities/parser/parser.py\", line 107, in event_parser\n    parsed_event = parse(event=event, model=model)\n",
    "  File \"/opt/python/aws_lambda_powertools/utilities/parser/parser.py\", line 203, in parse\n    raise InvalidModelTypeError(\n"
  ]
}
The input validation works as expected. You can find the source code for this step in the link . Now, let’s proceed to the final step.
Setting up Monitoring and Alarms
In this section, we’ll explore how to create a CloudWatch Dashboard and set up an SNS alarm topic for notifications. We will focus on key Lambda metrics include:
-
Invocations
-
Concurrent Executions
-
Latency
-
Errors
-
Execution Reports
Additionally, we’ll configure alarm notifications to trigger an SNS topic if the application experiences high latency or exceeds a specified number of errors.
To get started, we’ll create a CloudWatch Dashboard and an SNS topic using AWS CDK. Let’s begin by setting up a new construct:
class MonitoringDashboard(Construct):
    def __init__(
            self,
            scope: Construct,
            construct_id: str,
            dashboard_name: str
    ) -> None:
        super().__init__(scope, construct_id)
        self.construct_id = construct_id
        self.dashboard_name = dashboard_name
        self.dashboard = self._create_dashboard()
        self.alarm_topic = self._create_alarm_topic()

    def _create_dashboard(self) -> cloudwatch.Dashboard:
        """
        Create the dashboard
        """
        return cloudwatch.Dashboard(
            self,
            self.construct_id,
            dashboard_name=self.dashboard_name,
            start="-P24H",
        )

    def _create_alarm_topic(self) -> sns.Topic:
        """
        Create an SNS topic for alarms
        """
        topic = sns.Topic(
            self,
            f"{self.construct_id}AlarmTopic",
            topic_name=f"{self.construct_id}AlarmTopic",
        )
        # Grant CloudWatch permissions to publish to the SNS topic
        topic.add_to_resource_policy(
            statement=iam.PolicyStatement(
                actions=["sns:Publish"],
                effect=iam.Effect.ALLOW,
                principals=[iam.ServicePrincipal("cloudwatch.amazonaws.com")],
                resources=[topic.topic_arn],
            )
        )
        return topic
Now, we’ll add graphs to our dashboard that display the main Lambda metrics:
def add_lambda_function_metrics(self, lambda_function: _lambda.Function) -> None:
    """
    Add graphs for the Lambda function's metrics:
        - invocations
        - concurrency
        - latency
        - errors
        - execution report
    """
    error_log_filter = (
        "filter (ispresent(log_level) and log_level = 'ERROR') "
        "or (ispresent(level) and level = 'ERROR')"
    )
    # noinspection PyTypeChecker
    self.dashboard.add_widgets(
        cloudwatch.TextWidget(
            markdown=f"## Lambda function -- {lambda_function.function_name}\n",
            width=24,
            height=2,
        ),
        cloudwatch.Row(
            cloudwatch.GraphWidget(
                title="Invocations",
                width=12,
                left=[
                    lambda_function.metric_invocations(
                        label="Invocations",
                        statistic="Sum",
                        period=Duration.minutes(5),
                    ),
                    lambda_function.metric_all_concurrent_executions(
                        label="Concurrent executions",
                        statistic="Maximum",
                        period=Duration.minutes(5),
                    ),
                ],
            ),
            cloudwatch.GraphWidget(
                title="Latency",
                width=12,
                left=[
                    lambda_function.metric_duration(
                        label="P50", statistic="p50", period=Duration.minutes(5)
                    ),
                    lambda_function.metric_duration(
                        label="P90", statistic="p90", period=Duration.minutes(5)
                    ),
                    lambda_function.metric_duration(
                        label="P99", statistic="p99", period=Duration.minutes(5)
                    ),
                ],
            ),
            cloudwatch.GraphWidget(
                title="Errors",
                width=12,
                left=[
                    lambda_function.metric_errors(
                        label="Errors", statistic="Sum", period=Duration.minutes(5)
                    )
                ],
            ),
            cloudwatch.LogQueryWidget(
                title="Recent 20 Errors",
                log_group_names=[lambda_function.log_group.log_group_name],
                query_lines=[
                    "fields @timestamp, @message",
                    error_log_filter,
                    "sort @timestamp desc",
                    "limit 20",
                ],
                width=12,
                height=6,
            ),
            cloudwatch.LogQueryWidget(
                title="Execution Report",
                log_group_names=[lambda_function.log_group.log_group_name],
                query_lines=[
                    'filter @type = "REPORT"',
                    r"parse @message /Init Duration: (?<init>\S+)/",
                    "stats count() as total, \n"
                    "count(init) as coldStartCount, \n"
                    "coldStartCount/total*100 as coldPercent, \n"
                    "avg(init) as avgInitDuration, \n"
                    "max(init) as maxInitDuration, \n"
                    "min(@duration) as minDuration, \n"
                    "max(@duration) as maxDuration, \n"
                    "avg(@duration) as avgDuration, \n"
                    "avg(@maxMemoryUsed)/1024/1024 as memoryused \n"
                    "by bin (30min) #Group by 30 minute windows",
                ],
                width=24,
                height=6,
            ),
        ),
    )
These metrics provide comprehensive observability for our Lambda function. The dashboard offers a user-friendly view as follows:

To monitor our Lambda function, we will set up alarm notifications. These notifications will alert you when the p90 latency exceeds a certain threshold for five minutes or when the Lambda function encounters more than five errors over ten minutes.
def add_p90_latency_lambda_alarm(
        self,
        construct_id: str,
        lambda_function: _lambda.Function,
        threshold_duration: Duration,
) -> None:
    """
    Add P90 latency alarm for the lambda function
    """
    alarm = cloudwatch.Alarm(
        self,
        f"{self.dashboard_name}-{construct_id}-Latency-P90",
        alarm_name=f"{self.dashboard_name}-{construct_id}-Latency-P90",
        metric=lambda_function.metric_duration(
            label="P90", statistic="p90", period=Duration.minutes(5)
        ),
        threshold=threshold_duration.to_milliseconds(),
        evaluation_periods=2,
        datapoints_to_alarm=2,
        comparison_operator=cloudwatch.ComparisonOperator.GREATER_THAN_THRESHOLD,
        alarm_description="P90 latency is high.",
    )
    alarm.add_alarm_action(cloudwatch_actions.SnsAction(self.alarm_topic))

def add_error_rate_lambda_alarm(
        self,
        construct_id: str,
        lambda_function: _lambda.Function,
        threshold_max_count: int,
) -> None:
    """
    Add error rate alarm for the lambda function
    """
    alarm = cloudwatch.Alarm(
        self,
        f"{self.dashboard_name}-{construct_id}-Error",
        alarm_name=f"{self.dashboard_name}-{construct_id}-Error",
        metric=lambda_function.metric_errors(
            label="Errors", statistic="Sum", period=Duration.minutes(10)
        ),
        threshold=threshold_max_count,
        evaluation_periods=1,
        datapoints_to_alarm=1,
        comparison_operator=cloudwatch.ComparisonOperator.GREATER_THAN_THRESHOLD,
        alarm_description="Error count is high.",
    )
    alarm.add_alarm_action(cloudwatch_actions.SnsAction(self.alarm_topic))
You have several options for receiving notifications. You can add an email subscription, trigger another Lambda function, or use a notification service like PagerDuty for more complex and customizable notification configurations.
The following link contains the final code.
Resources
-
Recommended AWS CDK Project Structure for Monolithic Python Applications : This post offers valuable recommendations for setting up your Python application using AWS CDK, focusing on a monolithic architecture approach.
-
AWS CDK - Best Practices From The Trenches : Discover key insights and practical advice for effectively utilizing AWS CDK in your projects, providing best practices.
-
AWS Lambda Layers Best Practices This article provides a comprehensive guide to using Lambda Layers effectively.
These resources offer additional insights to assist you in building your microservice.
Conclusion
By efficiently structuring your Lambda project and utilizing Lambda Layers for deployment, you can create a resilient and scalable service. Establishing comprehensive monitoring and alarms ensures that your Lambda functions operate smoothly and address anomalies.
Together, these steps form a successful microservice architecture, driving the effectiveness and reliability of modern cloud-based applications.
Related Posts

Establishing a Secure Remote Development Environment with AWS EC2 and Terraform
Introduction Remote development environments (RDEs) allow software engineers to develop and deploy software remotely rather than on their local machine. RDEs are popular among software engineers for several reasons, including company security policies, requirements for specific resources, access to internal resources, and the ability to develop from different devices.
Read more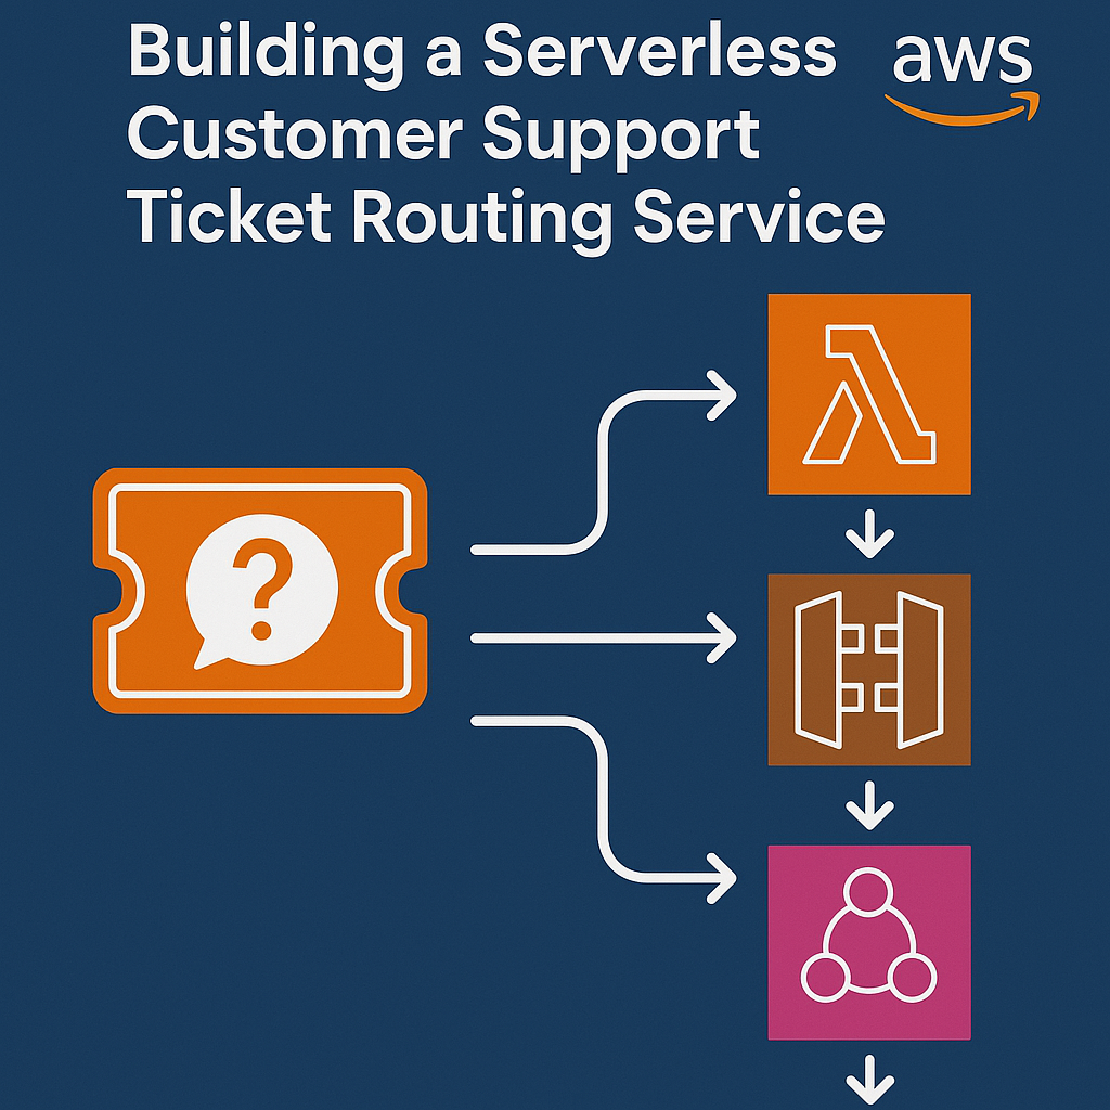
Building a Serverless Customer Support Ticket Routing Service
In this blog post, we will build a serverless customer support ticket routing service using AWS services like Lambda, API Gateway, SNS, and SQS.
Read more
Never Lose Your Data: Automated MacBook Backups with Restic and Real-Time Monitoring via CloudWatch
We rely on our MacBooks for everything—from crucial work projects and irreplaceable photos to vital financial records. The thought of losing it all—due to a crash, theft, or accidental deletion—is truly unsettling.
Read more